Nathan Hillis · May 6, 2020
How To Refinish A Wood Door: Step-By-Step Guide
Do you want to refinish your wood door? This article will show you exactly how to do it, step-by-step
From the rain to harsh winds or even the continuous opening and closing – wood doors will take a beating.
That all leads up to one decision.
Do you guy out and spend a week's salary on a new door or completely transform that door and bring it back to life for a much more affordable price?
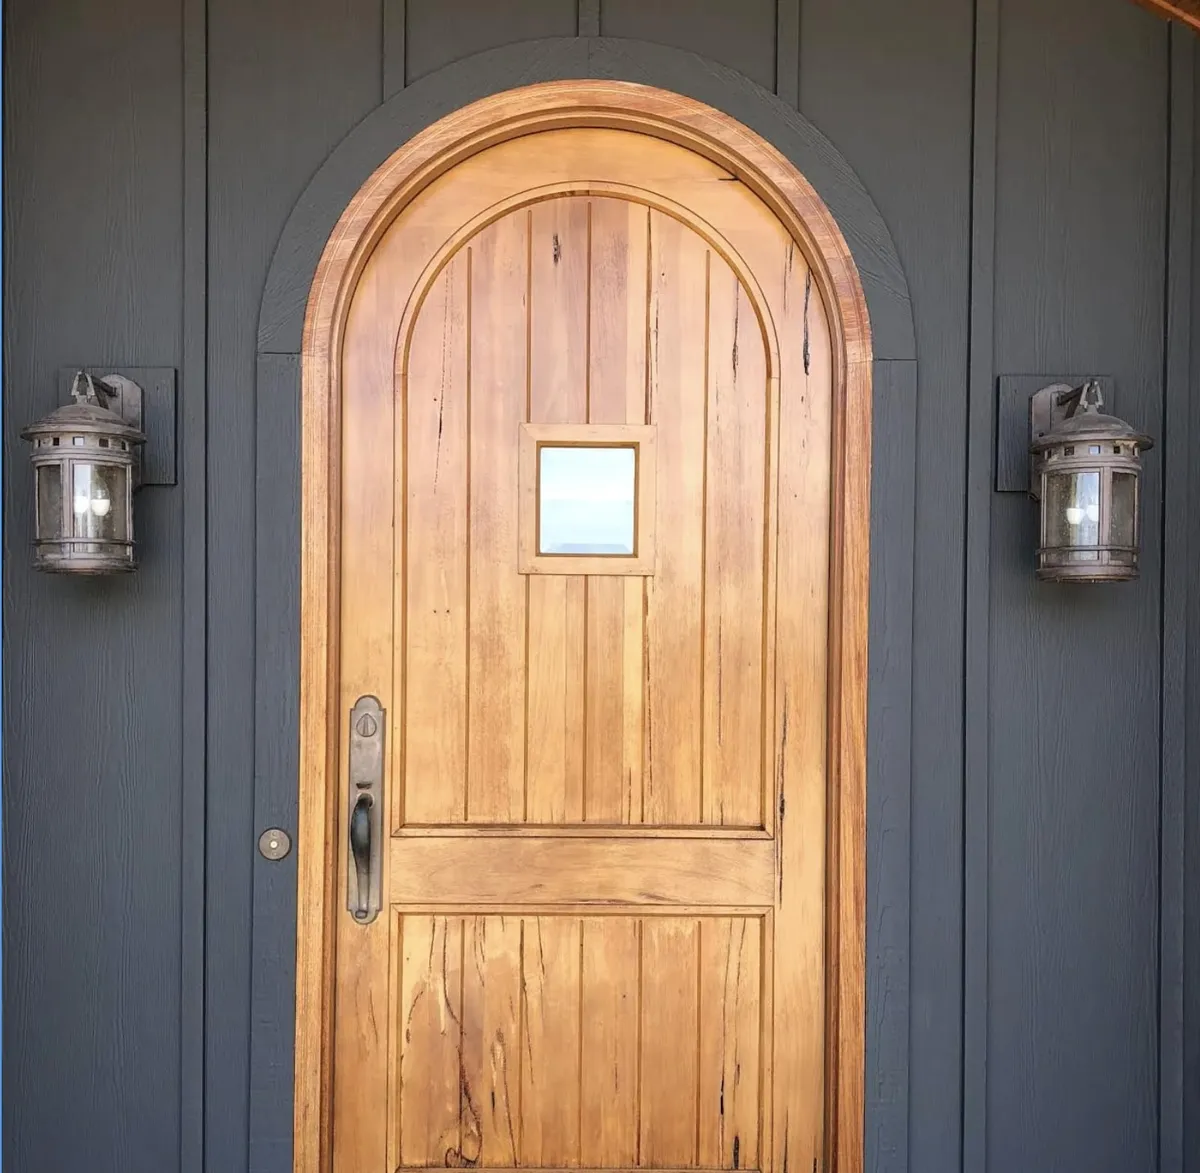
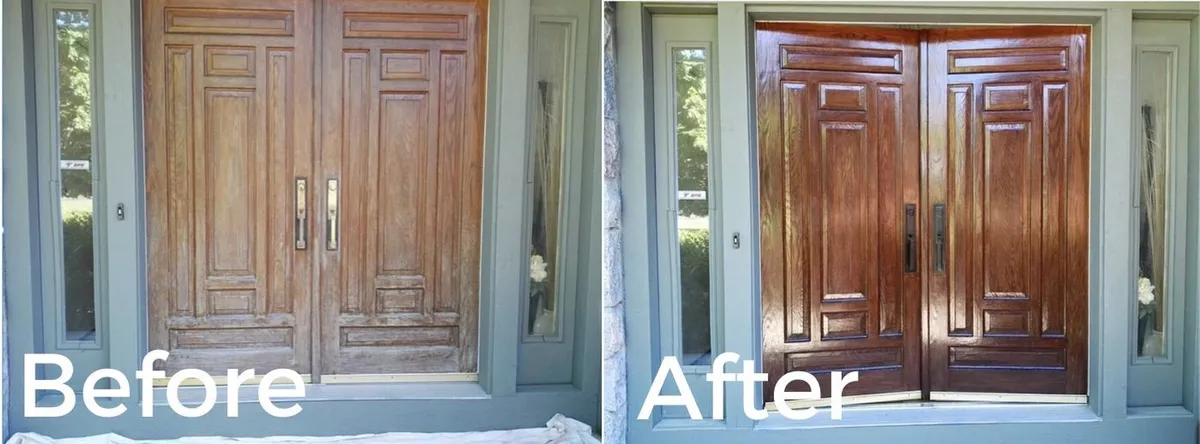
Truth is, that old “eye-sore” of a door can go from “just another problem” to a masterpiece that might even make your neighbors a little jealous.
So instead of going out and purchasing a new door, try refinishing the current one. This will save loads of money and give you something to be proud of.
Let’s dive right into it. Here's how to refinish a wood door.
Tools Needed
- Saw Horses
- Orbit Sander
- Scrapers
- Shop vacuum
- Paintbrushes
- Paint remover (If necessary)
- Finish
Step 1: Remove Hardware
The very first step to this exciting project is removing all hardware from the door. The best way to do this is by setting the door on padded sawhorses.
Removing the hardware has two main benefits.
The first is that it will make it easier to do the next step which is sanding. The other reason is to keep them protected if you plan on using them again.
Step 2: Sanding
The next step is to sand the door entirely. This will remove all the old varnish and prepare the door for its new coat of finish.
The best way to do this is by first using an 80-grit paper. Once you remove a layer of the door, you'll want to move onto 100-grit, then 120-grit. This is the finest you'll want to go or you could end up going too deep which prevents the finish from adhering.
Step 3: Scrape Moldings
Now that a majority of the door has been sanded, it’s likely that the molding still has some varnish on it.
The technique to remove this is to use a scraper and just run up and down the molding. Just be sure you don’t dig too deep or it could end up chipping the door.
Step 4: Choose And Apply Finish
At this point, there shouldn’t be any old varnish left on the door. If there is, be sure to remove it before starting this step.
Choosing a finish can be a little hard. There are really only 2 options, either stain or paint.
The paint will allow for two quick coats and about 8-10 years of protection from the elements.
Stain, on the other hand, will take more time to complete but gives a fresh, traditional look. The only downside is the extra work that is needed to properly stain a door.
Step: 5 Reattach Hardware
Once the door has been stained or painted its time for the final step, reattaching the hardware.
Now that the hardware is reattached you can then finally hang the door back on its hinges. So, take a step back and look at your homes new welcoming point!
Final Thoughts
Refinishing a door is a fantastic way to not only build something you're proud of. But it also will save you much more money than buying a brand new door.
To complete this task it will take a quick course of removing hardware, sanding, and finally painting.
Refinishing a door is a very exciting project and will truly impact the look of your home. At first it might be scary removing a door and the vision might not be there.
But in the end, it'll all be worth it once you take a step back and see your masterpiece.